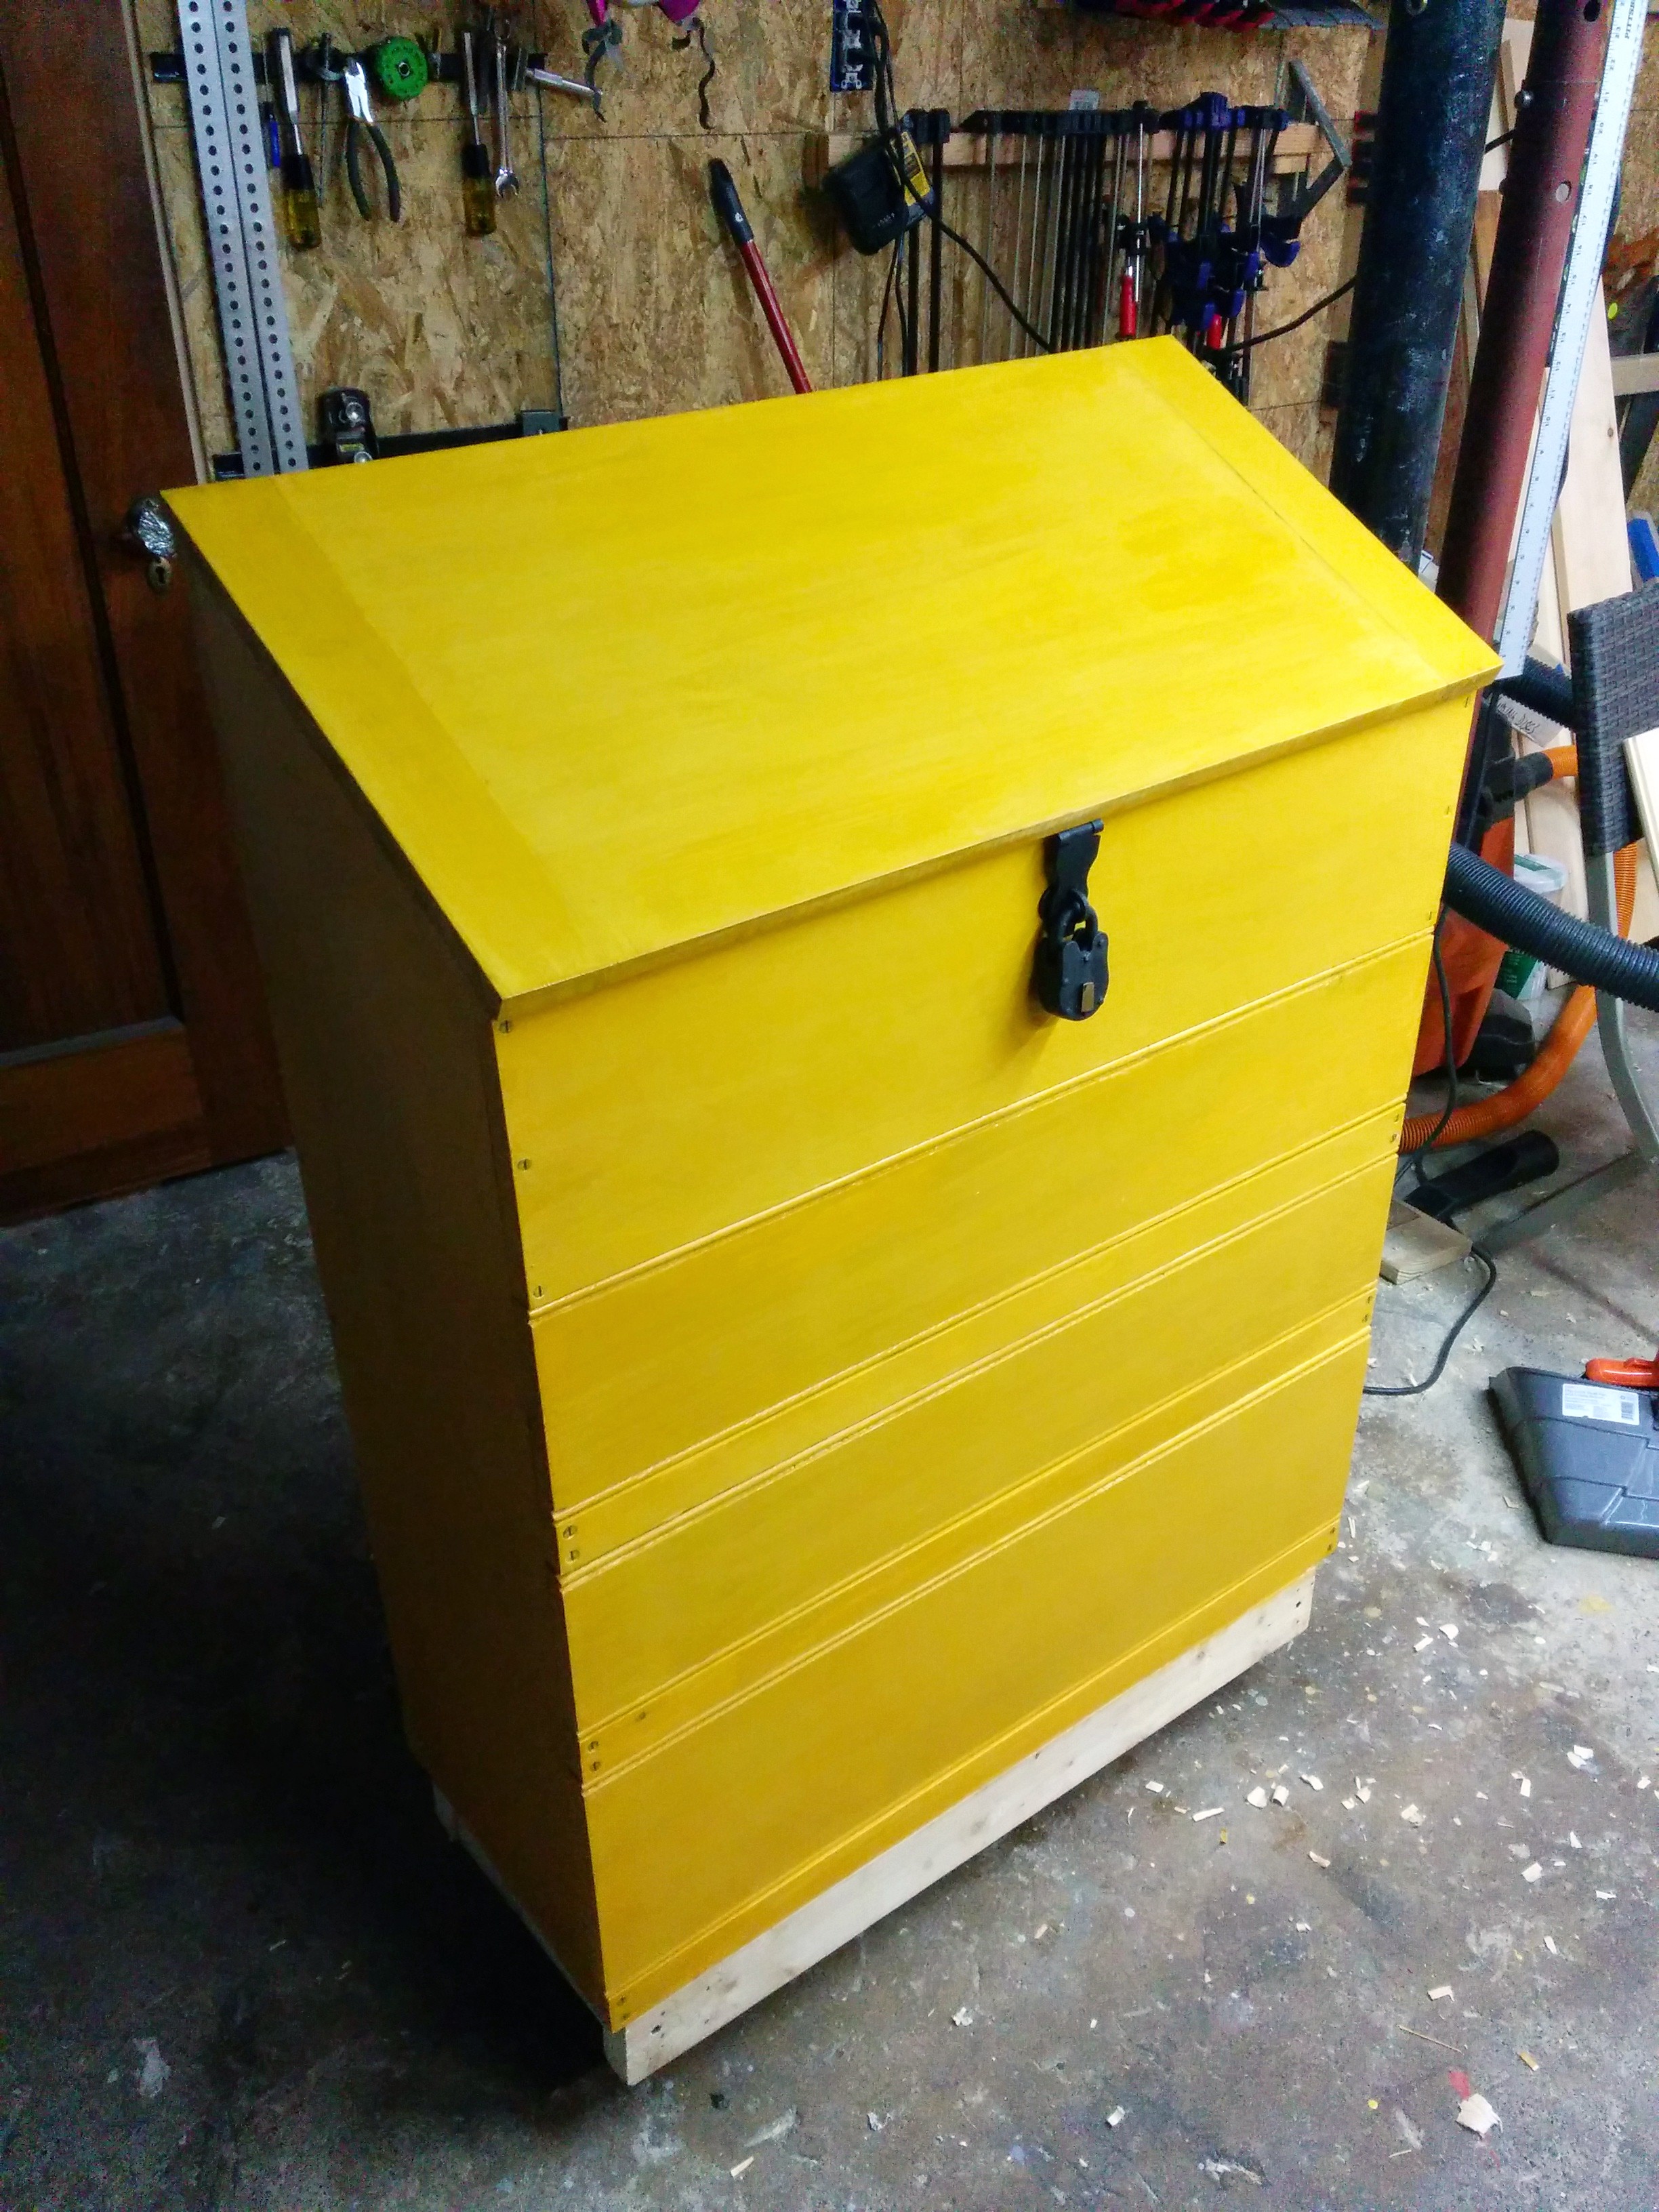
Dutch Tool Chest - Part 1
This chest will be different.
Every project begins with sawing your first board. This project is no different. I measured the height that I wanted and then drew a line across the board. I then measured 3 inches up and 3 inches down and drew a line making the angle for the top. After cutting the two resulting boards to length, I had the sides of my tool chest.
This tool chest will replace my existing dutch tool chest. I like the overall design but was unhappy with certain aspects of my old chest. The changes I wanted to make were all in response to problems with the old chest.
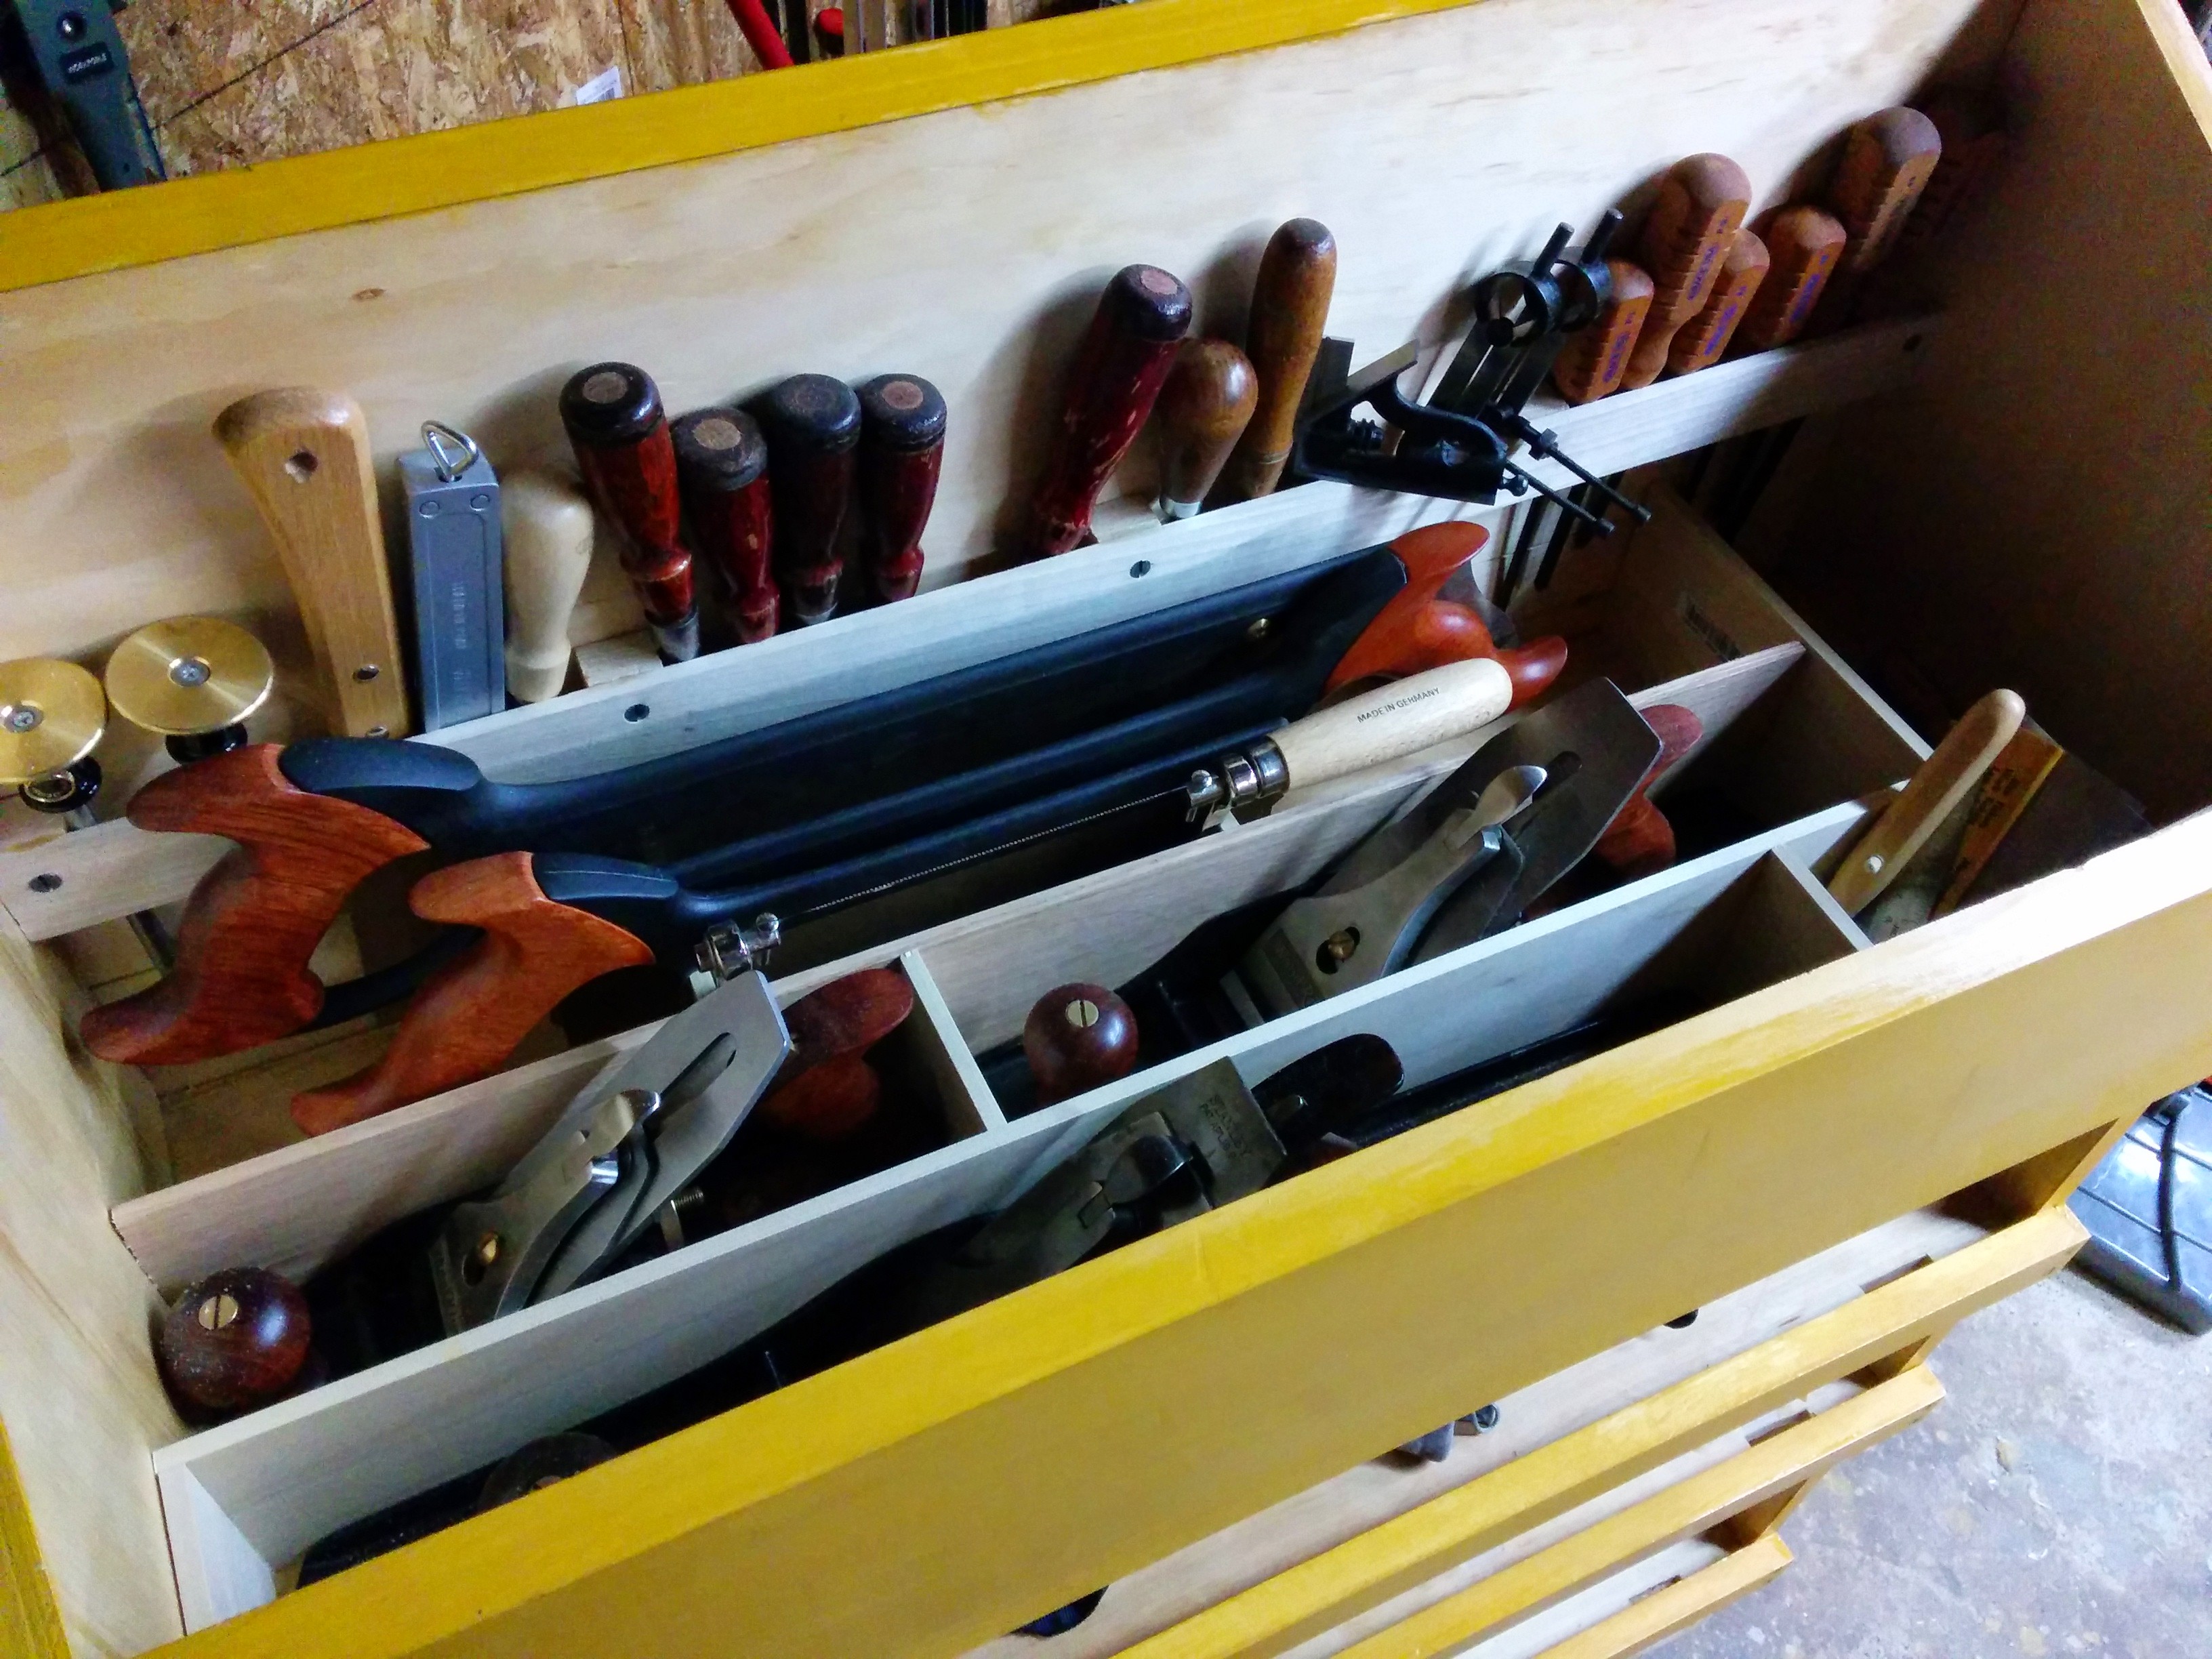
The first problem was the width. The old chest is just wide enough to hold my #4 and #5-1/2 planes in a row with a single 1/4 inch divider between them. I made the new chest 4 inches wider. This will give me a three and a half inch wide space to put miscellaneous tools.
The next problem was that a small dutch tool chest has to be set down on top of something to be at a usable height. If I had a bigger shop and an extra saw bench, then it wouldn’t be a problem, but as is the small chest sits of the floor most of the time and is too low. The new chest is a foot taller, and sits on a frame with casters. This means that I don’t have to bend over to access the top section.
Additionally, the old chest is just too small. It is built according to Chris Schwarz plans, and he designed it to be a travel chest. One that he could put the tools he knew he would need for the trip he was taking. I need a chest that will hold most of my tools in my shop, so with the extra height, I made three lower shelves instead of one. Additionally the top most shelf was created specifically for my molding and joinery planes.
Next time… dovetails and dados!
- Part 1 -This chest will be different.
- Part 2 - Dovetails and dados!
- Part 3 - Glue all the things!
- Part 4 - A front and a back.
- Part 5 - Final touches
References:
-
Chris Schwarz- The original design for this chest is Chris’. If you are interested in learning more about this chest, then you should totally read the October 2013 issue of Popular Woodworking. He also has post plans on his PWM blog. That said, read the article, watch the episode of The Woodwright’s Shop where he builds one, and then design it to fit your needs. Recently he also wrote about a ruler trick to make laying out dovetail pins easier.
-
Rob Cosman - Rob Cosman made a video about a nice trick for laying out dovetail pins.
-
Shannon Rogers - Shannon’s site is http://www.renaissancewoodworker.com/ go check it out. Lot’s of great stuff to learn, and he is totally right about it being more useful to just do the thing instead of pseudo-practicing.
-
Paul Sellers - I use a hand made Paul Sellers dovetail marker.